When you think of Microsoft Word, what comes to mind? Documents? Resumes? While these are definitely its main uses, Word is also a surprisingly versatile tool for various creative projects.
1
Edit Images
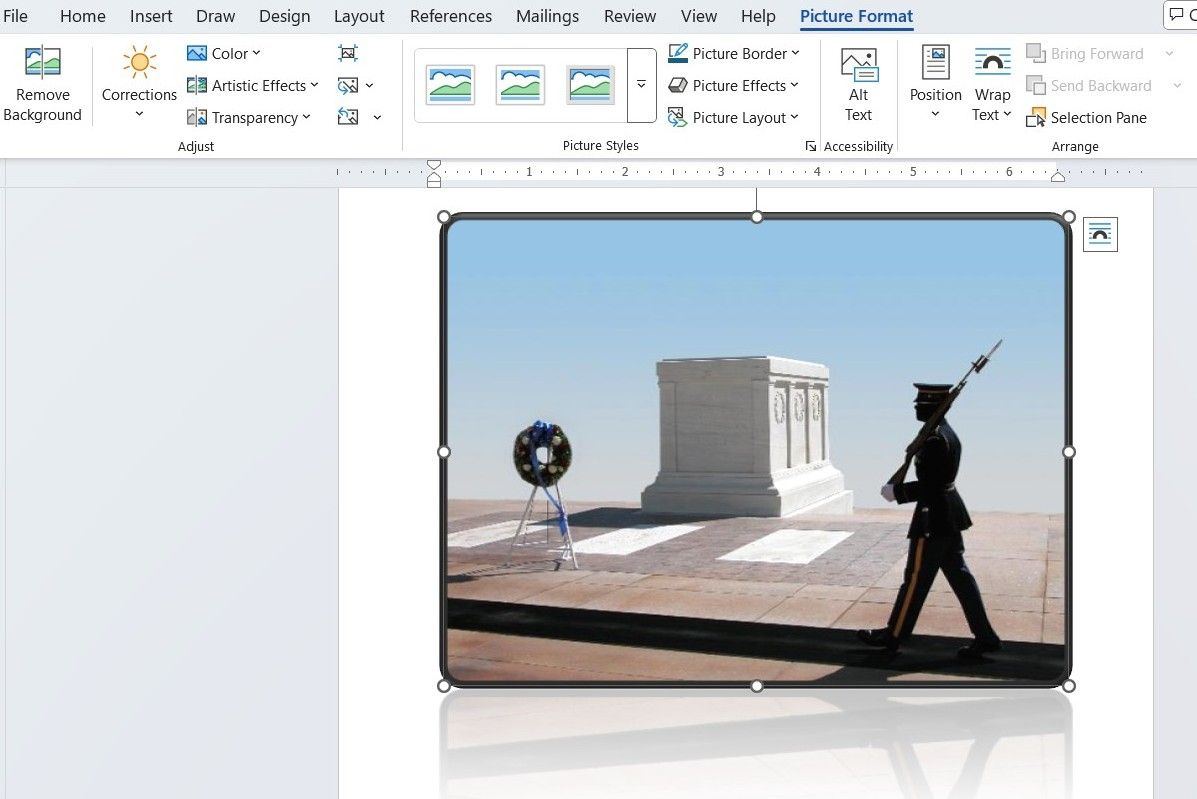
You may already be using images in your documents, but did you know Word also offers some handy image-editing tools? You can use them to resize, crop, and rotate images, as well as tweak things like brightness, contrast, and color.
Word even allows you to layer images, add text overlays, and remove backgrounds. With Picture Styles, you can effortlessly apply predefined artistic effects to give your images a polished look. To access these tools, insert an image in Word, select it, and navigate to the Picture Format tab.
2
Craft Crossword Puzzles
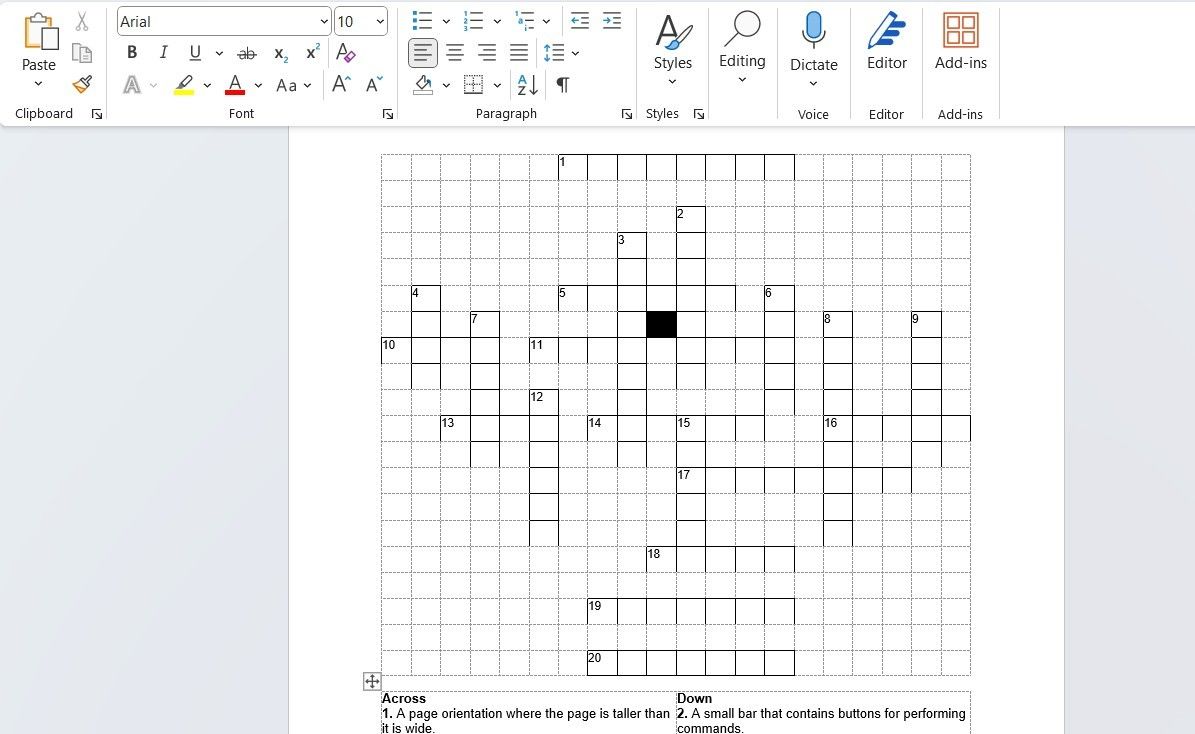
Microsoft Word can also serve as a handy tool for crafting crossword puzzles. You can use the Insert Table feature to set up rows and columns for your puzzle grid. You can then shade cells with the Fill Color tool to represent blank spaces and leave others empty for clues. To number the boxes, you can either insert text boxes or use small font sizes directly within the grid.
Below your grid, you can create a numbered list of your clues, dividing them into across and down sections. You can take advantage of Word’s range of fonts, styles, and formatting tools to design a professional-looking puzzle complete with a catchy title and clear instructions.
3
Design Diagrams and Flowcharts
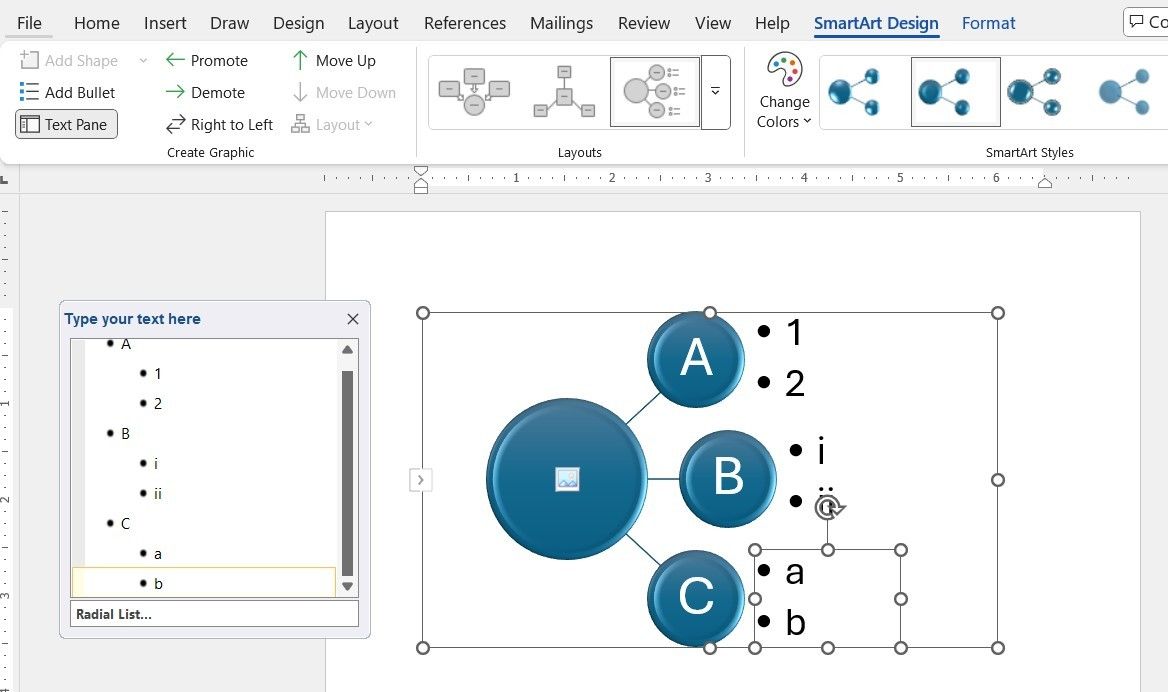
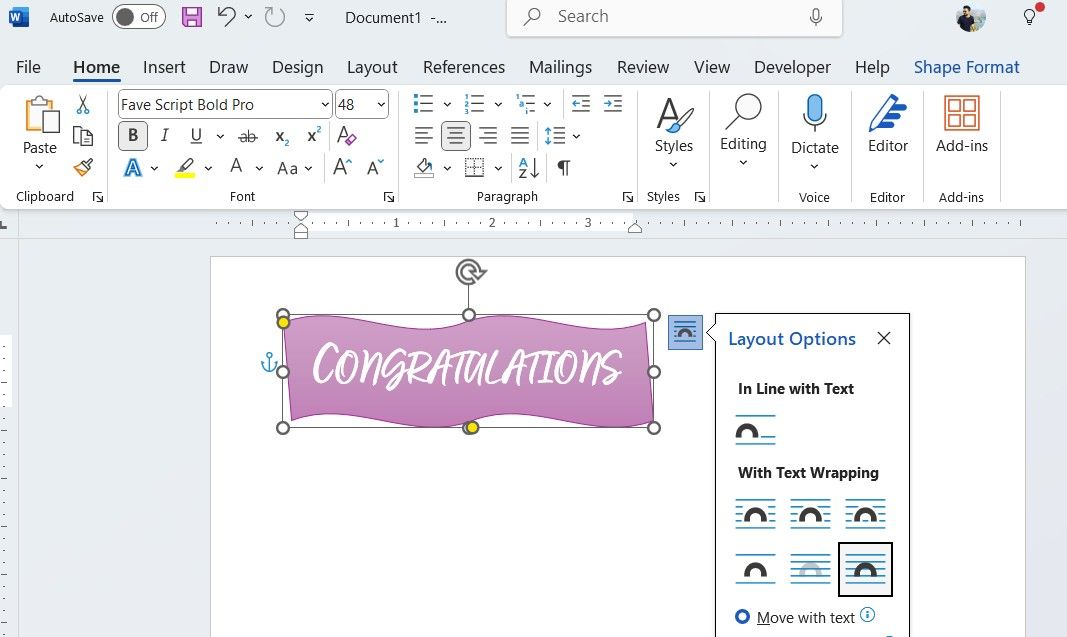
You don’t necessarily need specialized tools to create flowcharts and diagrams—Microsoft Word has everything you need. You can simply use the Shapes tool under Insert to add shapes like rectangles, circles, arrows, and more.
If you don’t want to start from scratch, you can head to Insert > SmartArt to access ready-made templates for flowcharts, processes, and organizational charts. This way, you can visualize complex concepts, workflows, or hierarchies for work or school projects.
4
Note-Taking
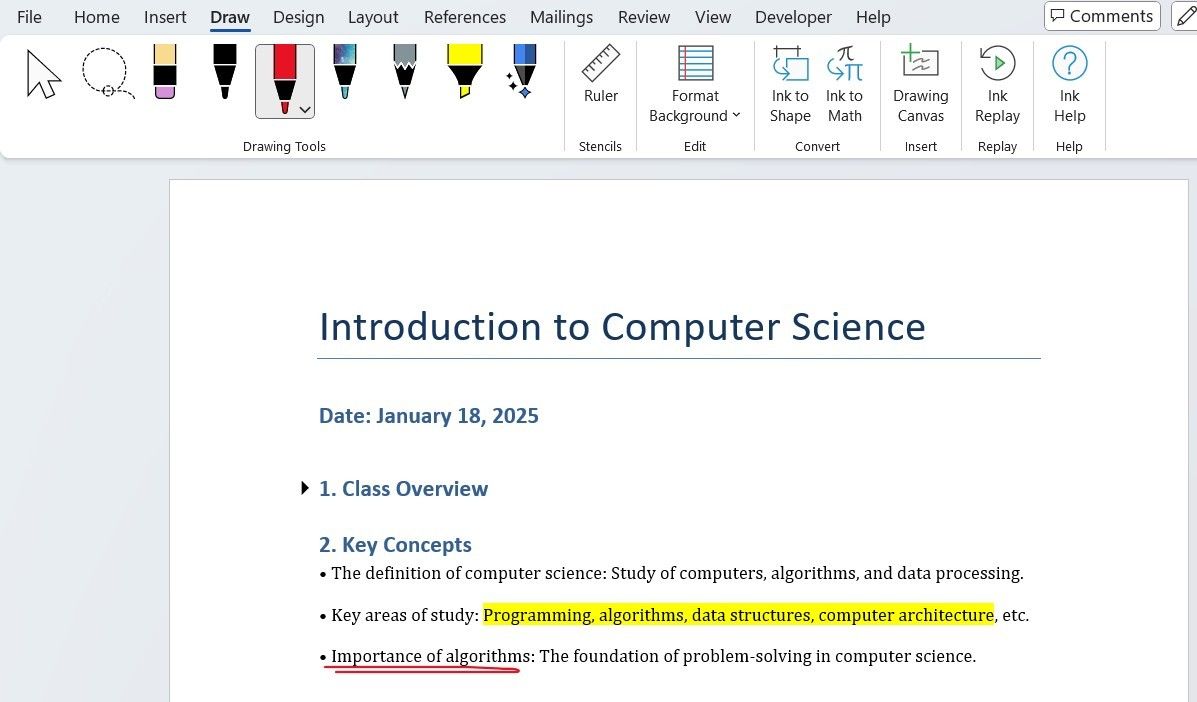
While there’s no shortage of dedicated note-taking tools, Microsoft Word can also serve as an excellent option for organizing your thoughts and ideas. With features like headings, bullet points, and numbered lists, you can create clear and structured notes that make it easy to reference information later.
Word also offers voice typing for hands-free note dictation and drawing tools for sketching diagrams or highlighting key points. Additionally, Word’s cloud integration with OneDrive means you can access your notes from any device, whether it’s your phone or computer.
5
Transcribe Audio
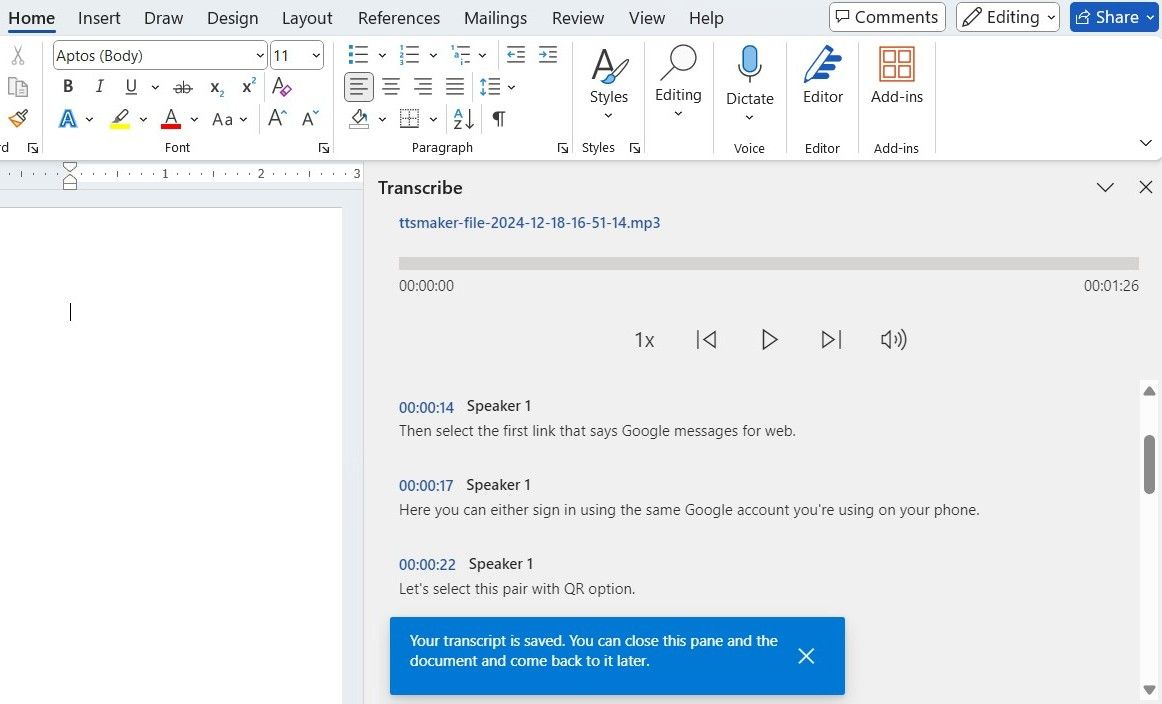
With Word’s transcription tool, you can efficiently convert audio into written text and avoid the hassle of manual transcription. All you need to do is head to Home > Dictate > Transcribe and upload your audio file. Word will automatically generate a transcript with timestamps, which you can then edit for accuracy and clarity. This feature is perfect for transcribing meetings, lectures, interviews, or podcasts.
6
Translate Text
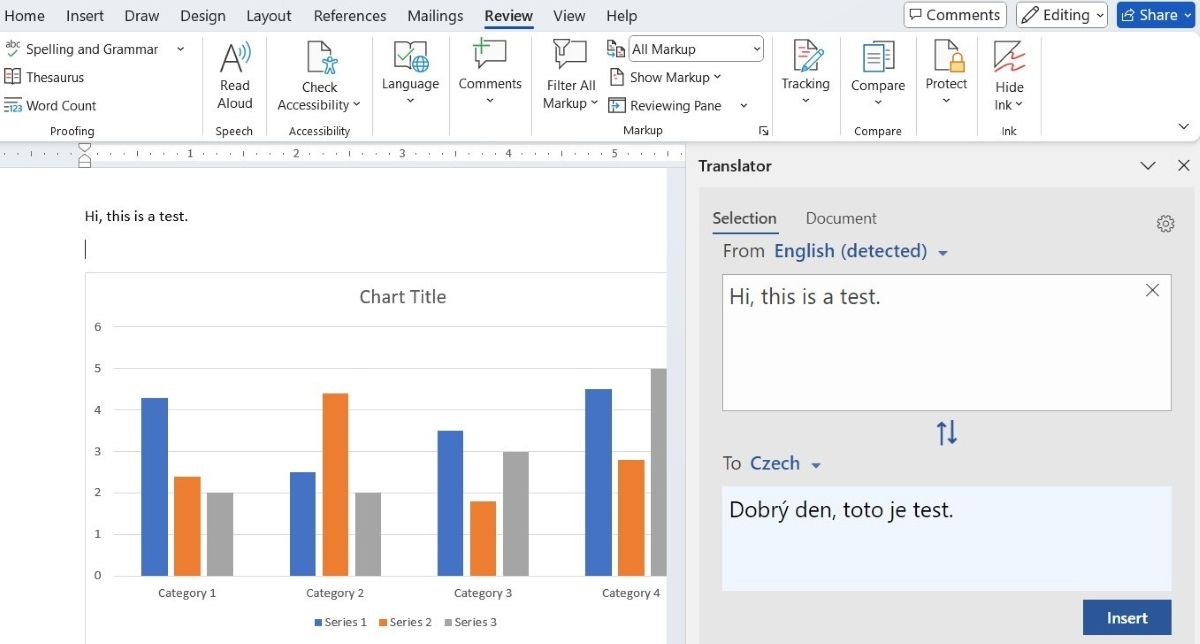
You probably rely on web tools to translate text on your computer. But, with Microsoft Word, you can skip the extra steps and translate text directly in your document. Simply input the text in your Word document, select it, and go to Review > Translate. Word supports more than 100 languages, so you’re likely to find the one you need.
7
Solve Calculations and Convert Measurements
When it comes to math, Excel may be the first Office tool that comes to mind, but Microsoft Word can also handle basic calculations. You can use several of Excel’s functions, such as SUM, COUNT, AVERAGE, MIN, MAX, PRODUCT, and IF, directly in Word tables. This is ideal for performing quick calculations within your document.
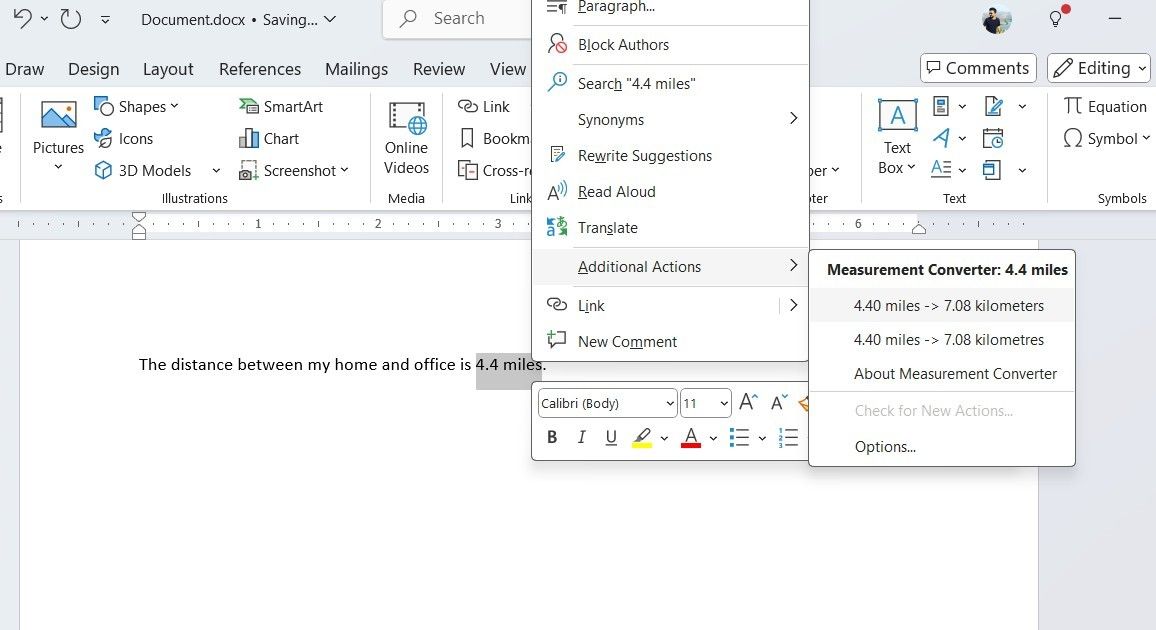
Microsoft Word also simplifies measurement conversions. For example, you can type a distance in miles, right-click it, and select Additional Actions to easily convert it into kilometers. This can also be done for other units like temperature, weight, and volume.
These options are quite handy for quick calculations and conversions when you’re drafting a report or working on a project.
8
Build Interactive Forms
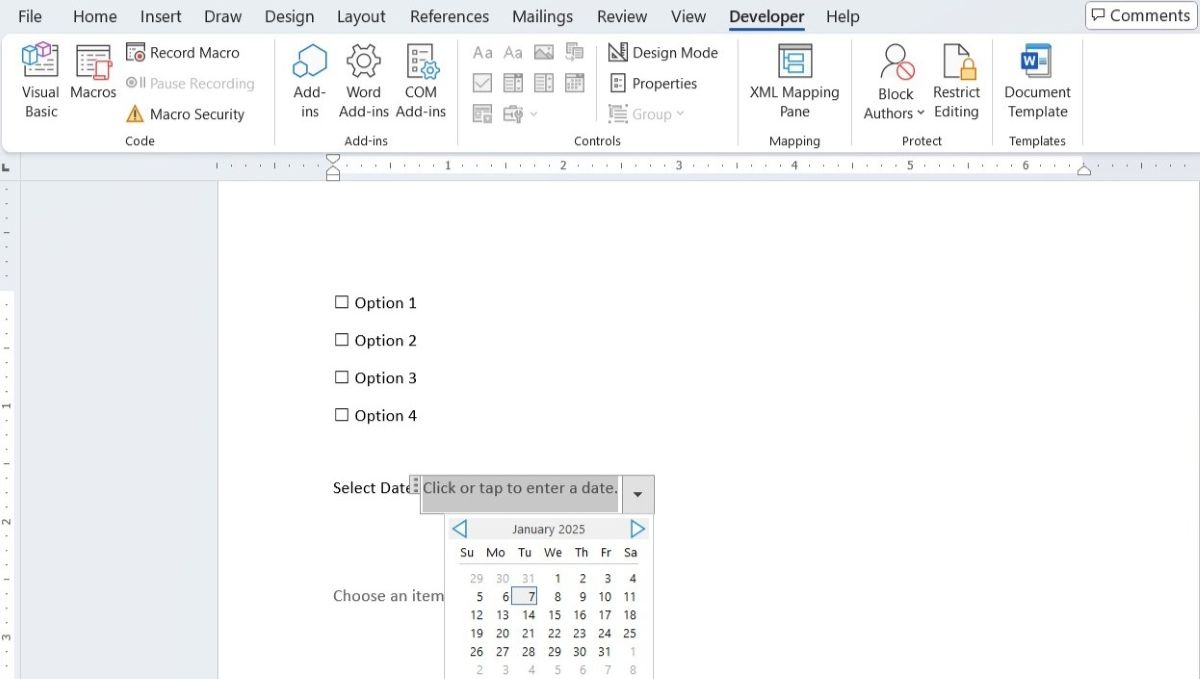
Microsoft Word lets you create interactive forms that can be filled out digitally. To get started, enable the Developer tab in Word, which gives you access to a variety of form controls. From there, you can add text boxes, checkboxes, dropdown lists, date pickers, and more by going to the Controls section in the Developer tab.
The main benefit is that users can fill out the form directly within Word—which is perfect when you’re conducting surveys or gathering feedback.
9
Design Brochures, Flyers, and Invitations
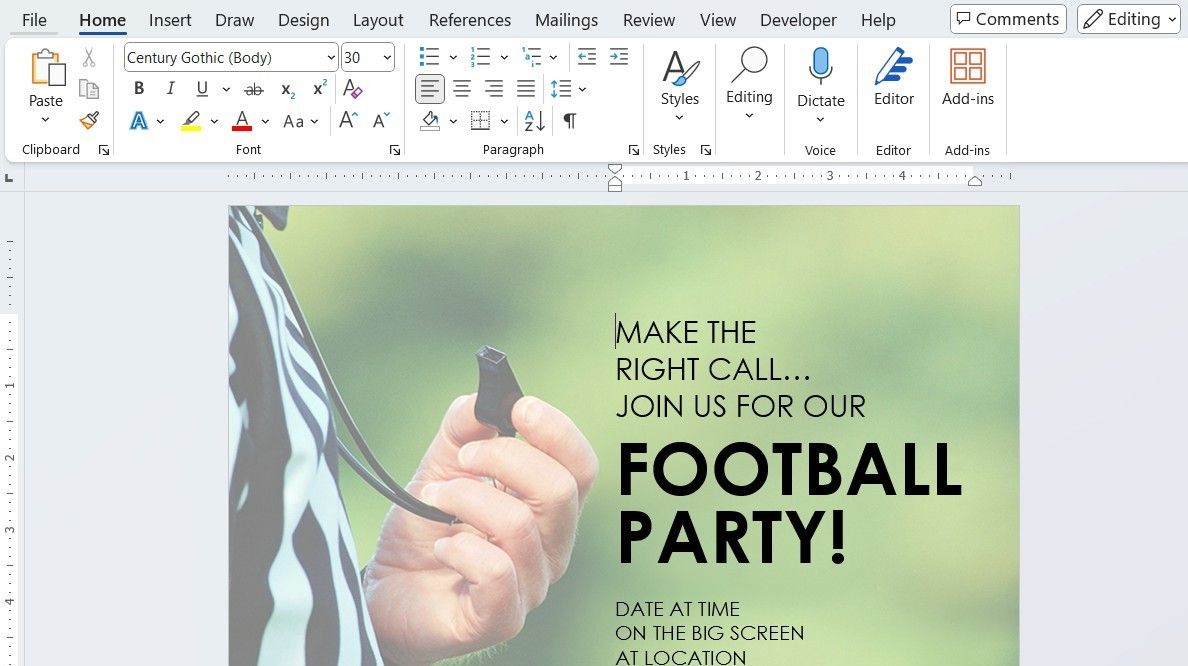
Designing brochures, flyers, and invitations can often feel overwhelming, but the process becomes much easier with Microsoft Word’s extensive collection of templates. Word offers a wide selection of customizable templates to suit various themes.
You can also download templates from the web, expanding your options even further. Once you’ve selected a template, you can easily personalize it by editing text, adjusting colors, changing fonts, and inserting images to match your style or brand identity.
10
Create eBooks
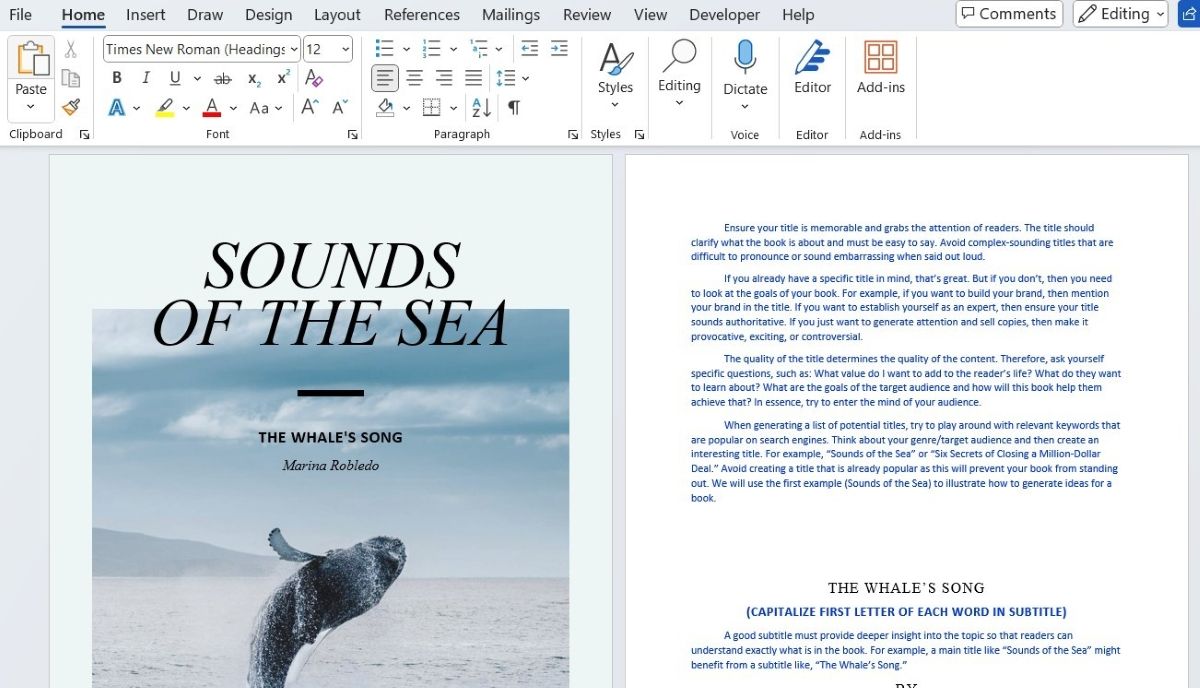
Need to create your own recipe book, research paper, or DIY manual? Microsoft Word can help you do that too. You can design and format your eBook from start to finish, including adding a cover page, chapters, and more. You can even enhance your eBook with features like hyperlinks, interactive tables of contents, and embedded images or graphics.
Once your content is polished, simply export your document as a PDF for an easily shareable eBook that can be viewed on any device.
11
Create Personalized Labels and Stickers
Finally, you can use Word to create custom labels and stickers for everything from gifts to office organization. Simply go to Mailings > Labels and choose the template you like, or create your own design from scratch using Insert > Shapes. You can customize fonts, colors, and images to make your labels or stickers unique.
To add a more professional touch, Word allows you to insert logos, clip art, or your own pictures. You can adjust the size and layout to fit the specific dimensions of your labels or sticker sheets.
Once you’ve designed your perfect label or sticker, just print them out on adhesive paper, and you’re ready to go!

